

Bulk uploading experiences in Stride allows users to efficiently create and manage multiple experiences at once. This feature is particularly useful when deploying large-scale campaigns, testing multiple variations, or updating existing experiences. Follow the steps below to bulk upload experiences.
The Steps #
- Log into your Stride account.
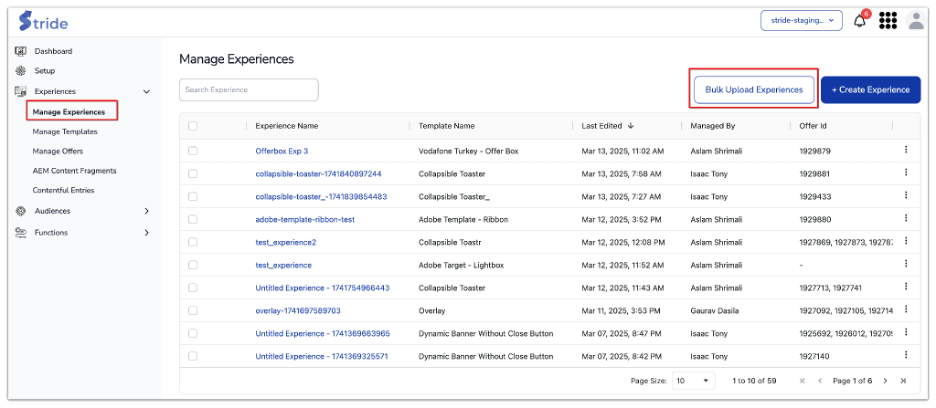
- In the left navigation panel, click on Experiences to expand the options.
- Select Manage experiences to open the experience management dashboard.
- Click the Bulk Upload Experiences button in the top-right corner.
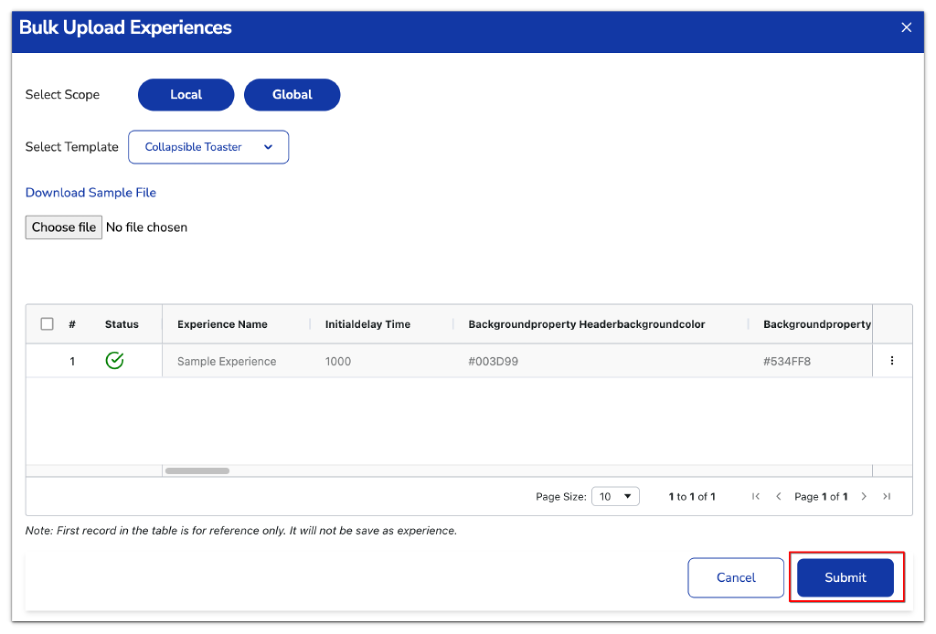
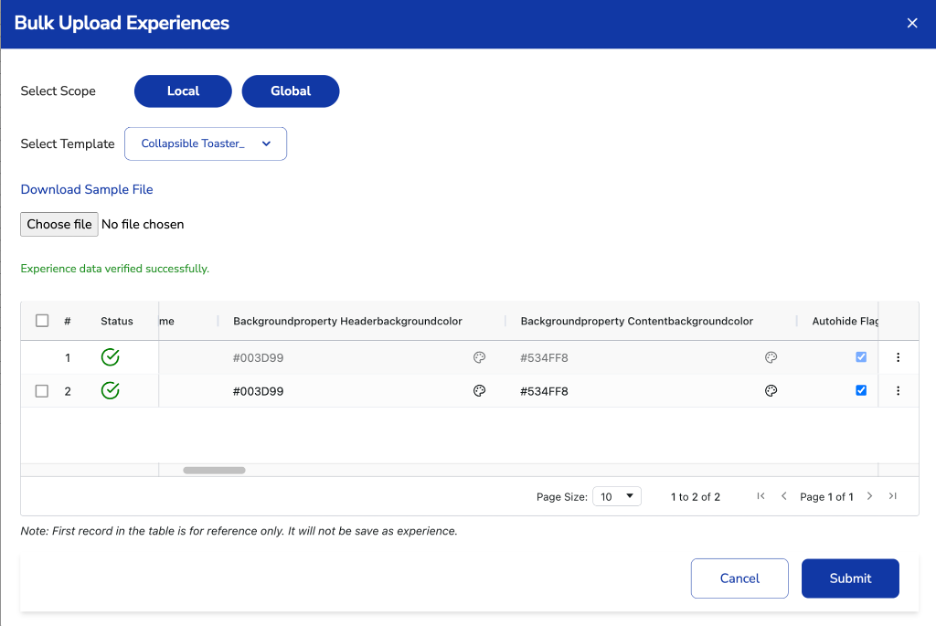
After clicking bulk upload experiences, a configuration modal will appear.
- Select scope, choose between:
- Local Scope
- Global Scope
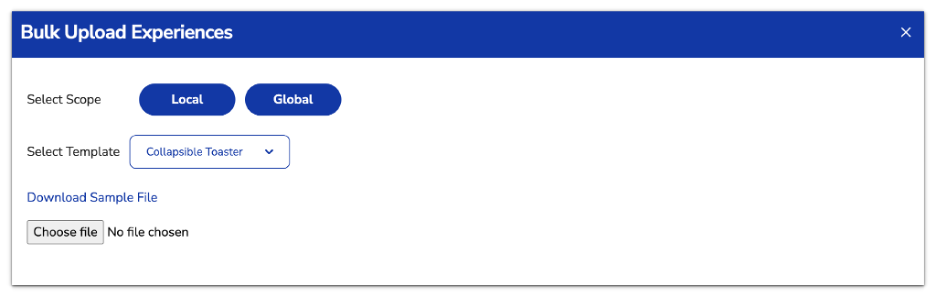
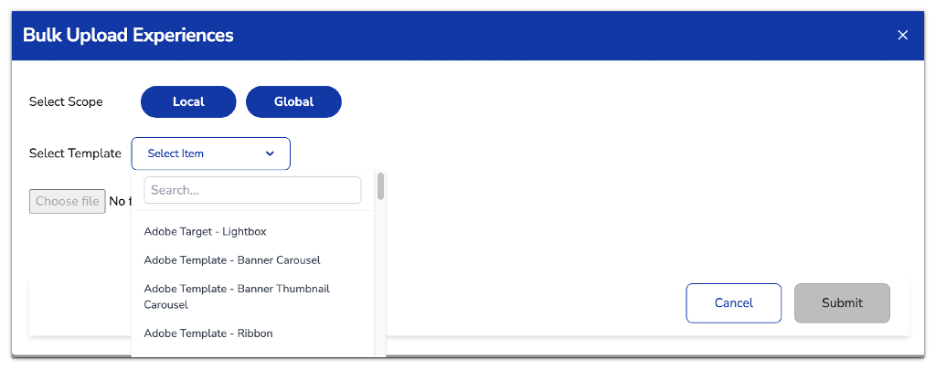
6. Click on the Select template dropdown.
7. Choose a template from the available options.
8. If necessary, use the Search bar to quickly find the appropriate template.
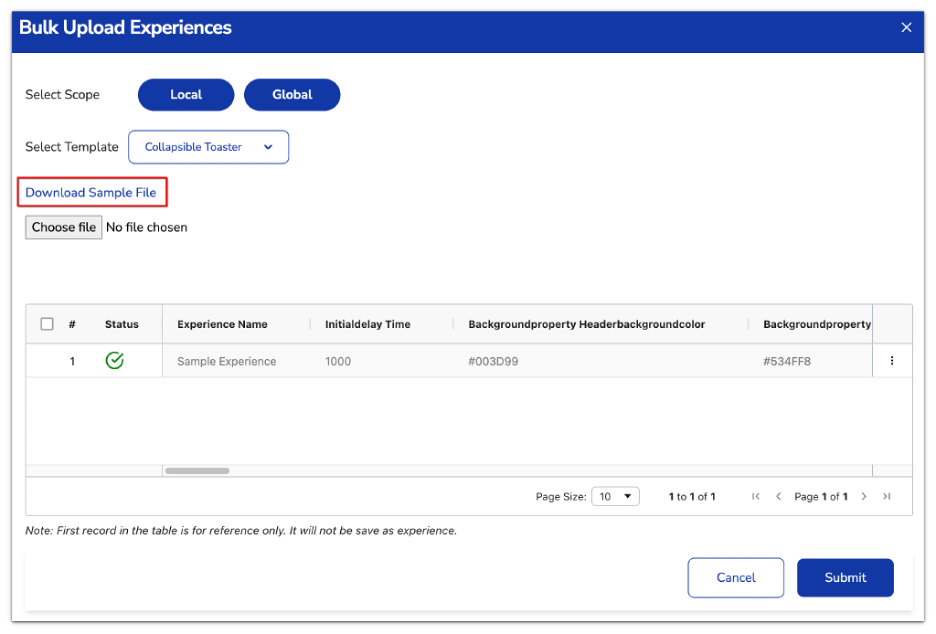
Preparing a Sample File #
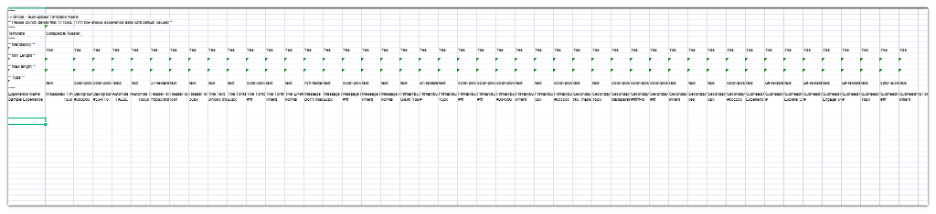
9. Download Sample File (Optional) – Before uploading, you can download a sample file by clicking Download sample file to view the required format.
10. Open the downloaded file in a spreadsheet editor like Excel or Google Sheets.
Important Notes:
- Do not delete the first 17 rows. These rows contain metadata and structure definitions.
- The 17th row shows default values and is the correct structure to follow.
- Mandatory fields are marked with Yes under the “Mandatory” row.
- Each column header represents a configurable property in the template, such as:
- Header Text, Background Color, Message, Primary Button Label, etc.
- Data types like colour-pick, text, rich-text, and url-textarea indicate the expected input format.
Adding a New Experience #
When using Stride’s Bulk Upload feature, each row added after the header and metadata is treated as a unique experience. Follow these steps to correctly add a new experience and input the required configuration values.
11. Scroll down to the first empty row after existing experiences.
12. In Column A, under “Experience Name,” enter a unique name for the new experience.
13. Enter the required configuration fields
Refer to Row 8 (Mandatory) and Row 11 (Type) to determine which fields are required and what data type to enter
14. Once the row is complete:
- Ensure there are no empty values in the “Mandatory” columns.
- Check that:
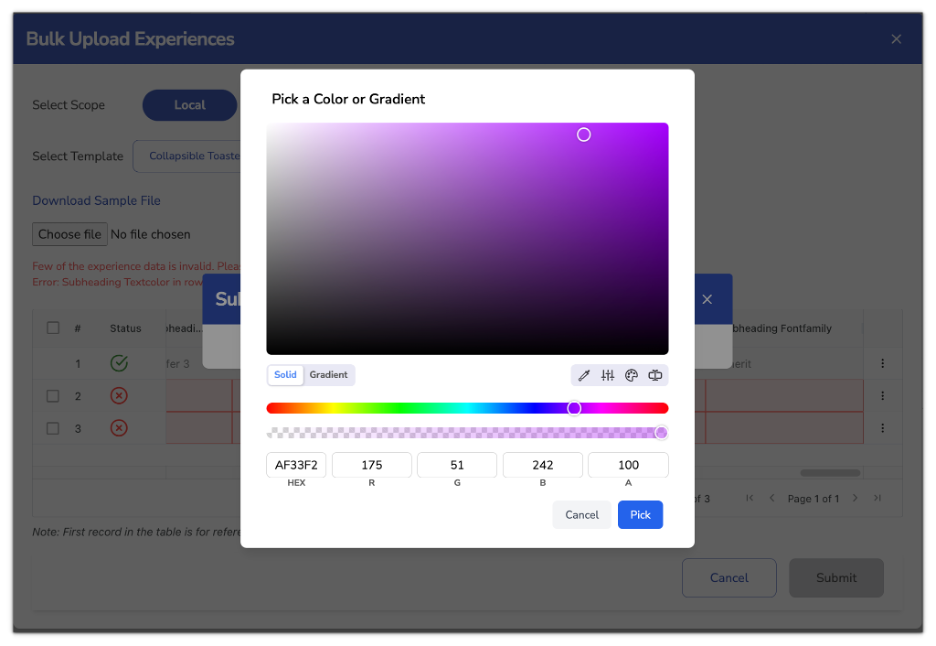
- Hex codes are valid colors.
- Fonts and spacing values follow expected formats.
- URLs are reachable and well-formed.
15. Once you have entered all the details, save your file in .csv format.
16. Choose File – Click the Choose file button to upload your prepared bulk experience file.
17. Click the Submit button to process the bulk upload.
18. Return to the Manage experiences page.
19. Use the Search Experience bar to find the newly uploaded experiences and verify that the details match the intended setup.
Use the Data Table to Manually Add or Edit Experiences #
- Instead of uploading a CSV, you can also enter data directly into the interactive table:
- Add new rows manually by clicking the three-dot menu next to any row.
- Select Add New Row to insert a blank experience.
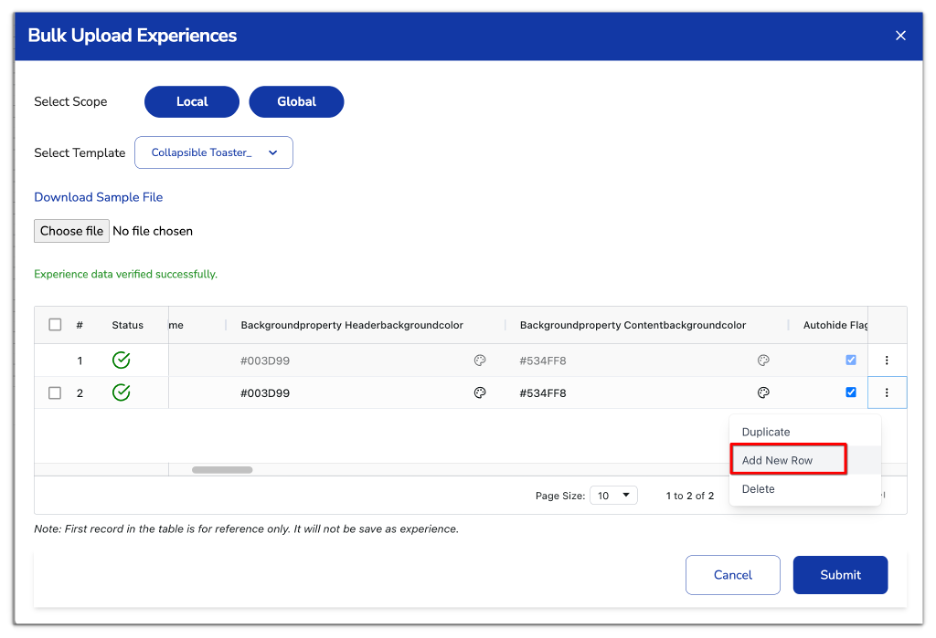
- Use Duplicate to copy a complete row for faster entry.
- Use Delete to remove incorrect rows.
- Click on any field to edit text, pick colours, or paste URLs.
7. Click the Submit button when all entries are valid.
8. Return to Manage experiences after submission.
9. Use the Search bar to locate the newly created experiences by name.
10. Confirm that:
- The content and design render correctly.
- Buttons, text, and layout follow the template settings.
And you’ve done it! You’ve just created a new template.
Have a question or need further assistance? Email us at [email protected].


